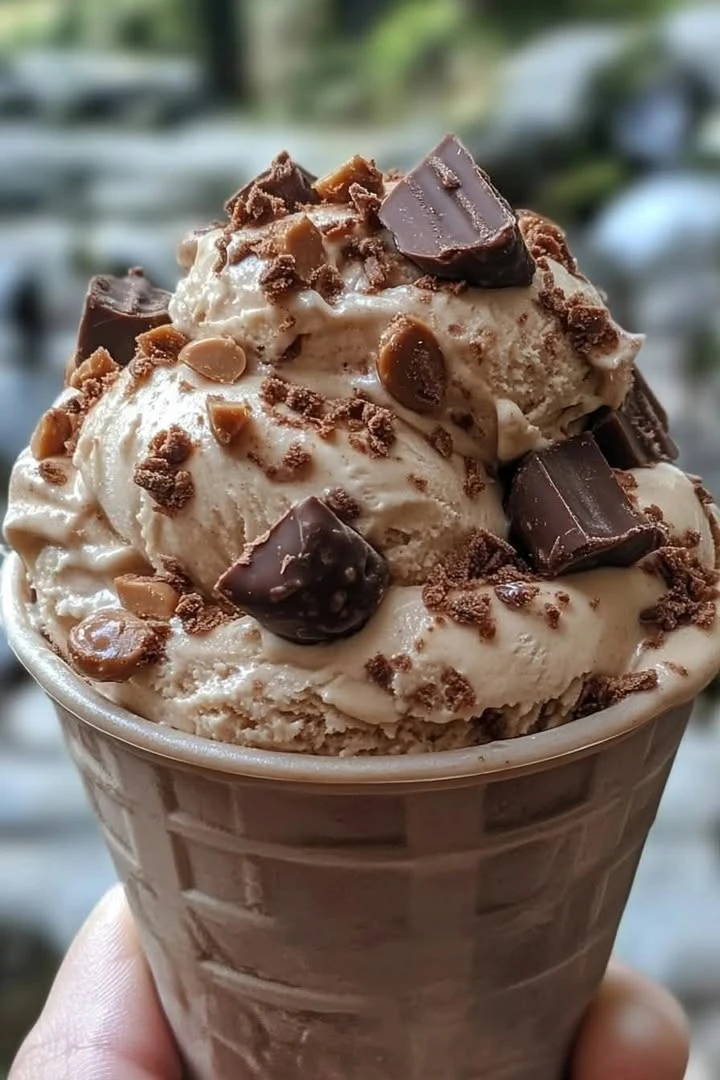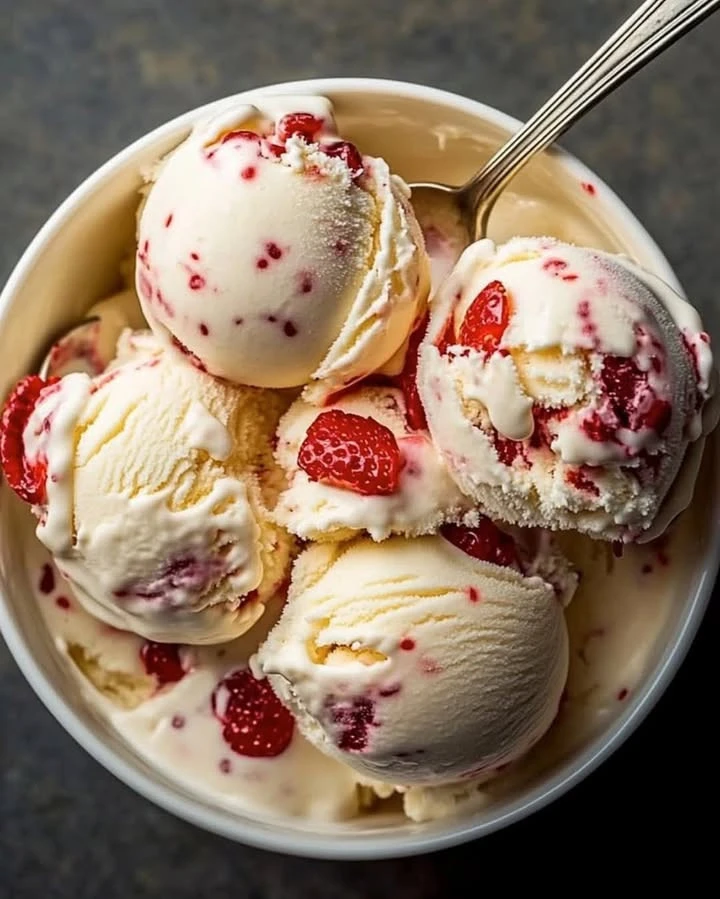


Homemade Coffee Ice Cream
Introduction
Homemade coffee ice cream is a delightful treat that combines the rich flavors of coffee with the creaminess of ice cream. It’s perfect for warm days or as a sweet ending to any meal. Plus, making it at home is easier than you might think!
Why Make This Recipe
Why not enjoy delicious coffee ice cream whenever you want? It’s quick to prepare, uses simple ingredients, and tastes way better than store-bought versions. This recipe is great for sharing with friends and family, and it’s sure to impress everyone with your homemade skills!
How to Make Homemade Coffee Ice Cream
Ingredients:
- 2 cups heavy cream
- 1 cup whole milk
- 3/4 cup granulated sugar
- 1/2 cup brewed coffee
Directions:
- In a bowl, mix the heavy cream, whole milk, granulated sugar, and brewed coffee. Whisk until the sugar fully dissolves.
- Pour the mixture into an ice cream maker and churn according to the manufacturer’s instructions until creamy and smooth.
- Transfer the delicious ice cream to an airtight container and freeze for at least 4 hours, or until solid.
- Once firm, scoop it into a bowl and get ready to enjoy your homemade coffee ice cream!
How to Serve Homemade Coffee Ice Cream
Serve your homemade coffee ice cream in bowls or cones. Add toppings like chocolate syrup, whipped cream, or even crushed nuts for a fun twist. Enjoy it as a dessert after dinner or as a refreshing treat any time of day!
How to Store Homemade Coffee Ice Cream
Store your coffee ice cream in an airtight container in the freezer. It will keep well for about 2 weeks, but trust me, it won’t last that long once you taste it!
Tips to Make Homemade Coffee Ice Cream
- Make sure your ice cream maker is frozen according to the manufacturer’s instructions before starting.
- For a stronger coffee flavor, use a dark roast coffee or espresso.
- If you want a chunkier texture, consider adding chocolate chips or toffee bits during the churning process.
Variation
You can mix it up by adding flavors like vanilla or caramel to the base before churning. You could also try adding some cocoa powder for a mocha version!
FAQs
1. Can I use decaf coffee?
Yes! Feel free to use decaf coffee if you’d like to enjoy this treat without the caffeine kick.
2. What if I don’t have an ice cream maker?
No worries! You can pour the mixture into a container and freeze it. Stir every 30 minutes for about 2-3 hours to break up ice crystals.
3. How can I make this ice cream without adding sugar?
You can substitute the sugar with a sweetener of your choice, like honey or a sugar substitute, for a healthier version!